
Connecting Facebook and Instagram
A collaboration is how a publisher authorises InsightsRN to read their social accounts. Until one is in place, deliverables belonging to that publisher cannot be crawled and will show no data.
The flow has two halves: you open the publisher’s collaboration page and send them a link, and the creator authorises their own account from that link.
Before you begin
Section titled “Before you begin”The publisher will need:
- An Instagram Business or Instagram Creator account — see Set up an Instagram Professional account
- A Facebook Page connected to that Instagram account — see Connect a Facebook Page
- A Facebook account that can perform Tasks on that Page
Step 1 — Open the publisher’s collaboration page
Section titled “Step 1 — Open the publisher’s collaboration page”- Go to All Publishers.
- Find the publisher you want to link and click into it for more details.
- Click Connect Social.

What’s on the collaboration page
Section titled “What’s on the collaboration page”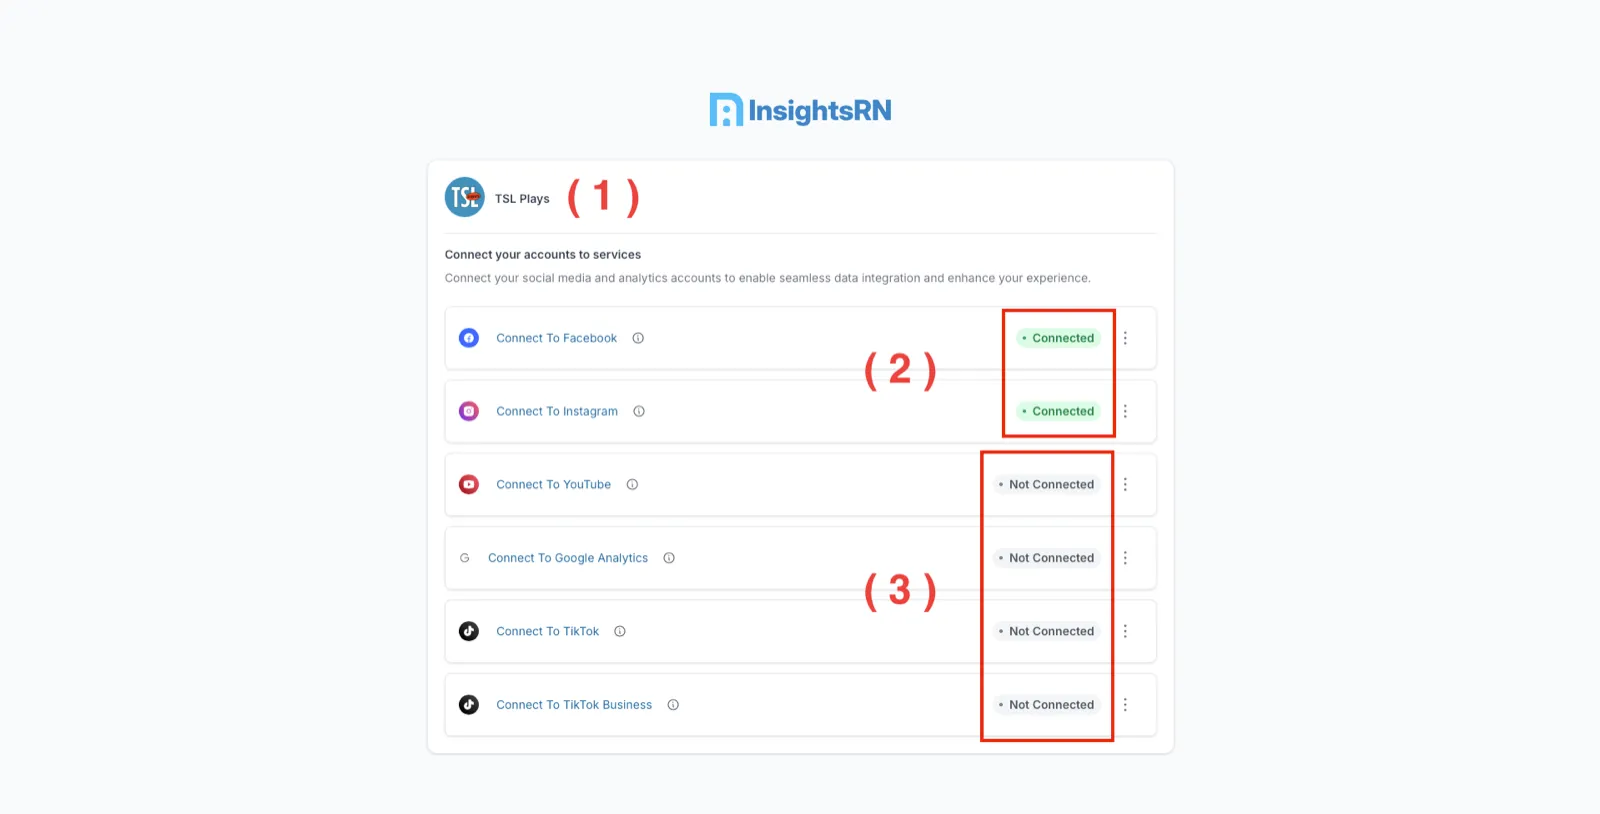
| Element | Meaning | |
|---|---|---|
| 1 | Publisher name and image | Confirms which publisher you are linking — check this before sending anything |
| 2 | Connected | That social account is successfully linked |
| 3 | Not Connected | That social account is not yet linked |
The platforms listed here are the ones your plan supports — see Supported platforms.
Connection controls
Section titled “Connection controls”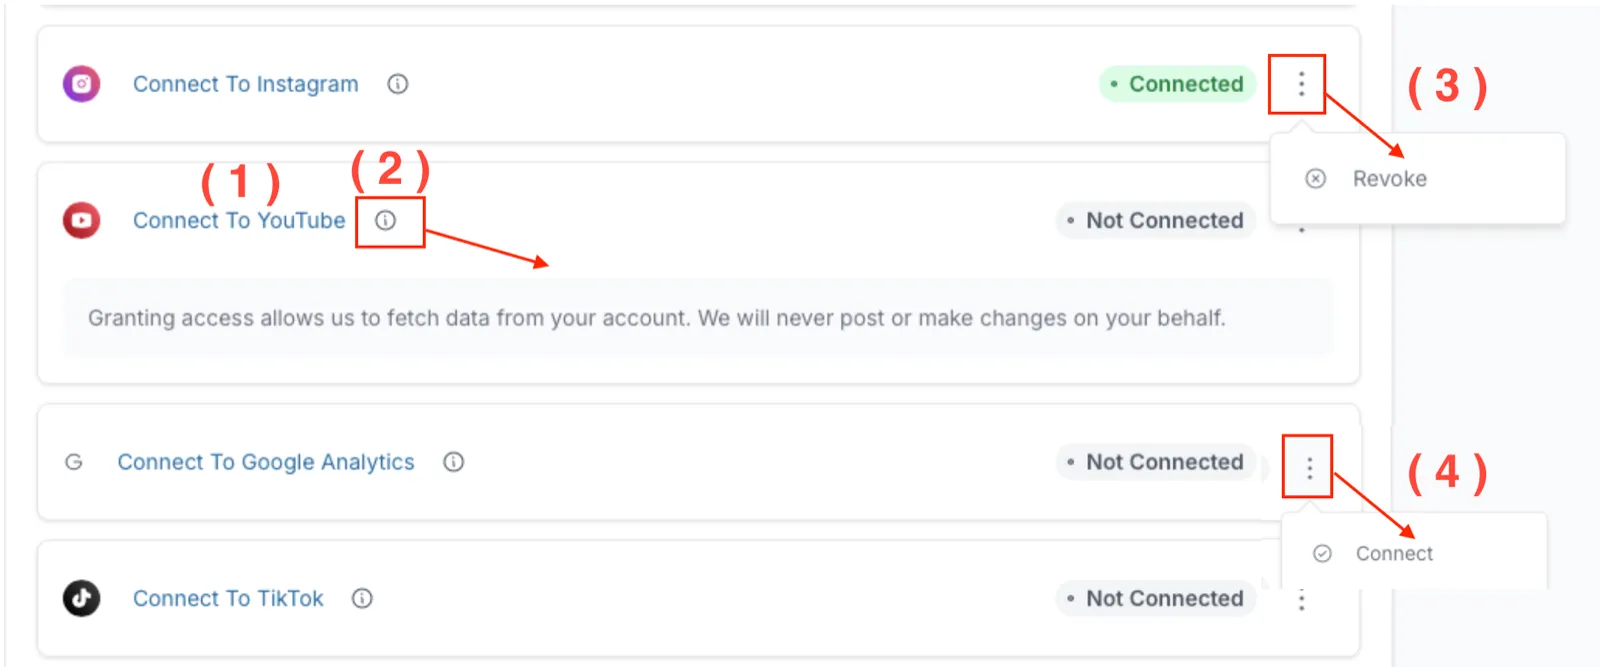
| Control | What it does | |
|---|---|---|
| 1 | Connect to [platform] | Starts the link for that platform |
| 2 | Information tooltip | Shows which data and permissions InsightsRN will request. Worth opening before you ask a creator to approve it, so you can answer their questions |
| 3 | Revoke access | In the more menu — clears the stored access key. Presented as an administrator action |
| 4 | More tools | Expands to an alternative Connect button |
Step 2 — The publisher connects their account
Section titled “Step 2 — The publisher connects their account”Send the creator their unique connect link. It looks like:
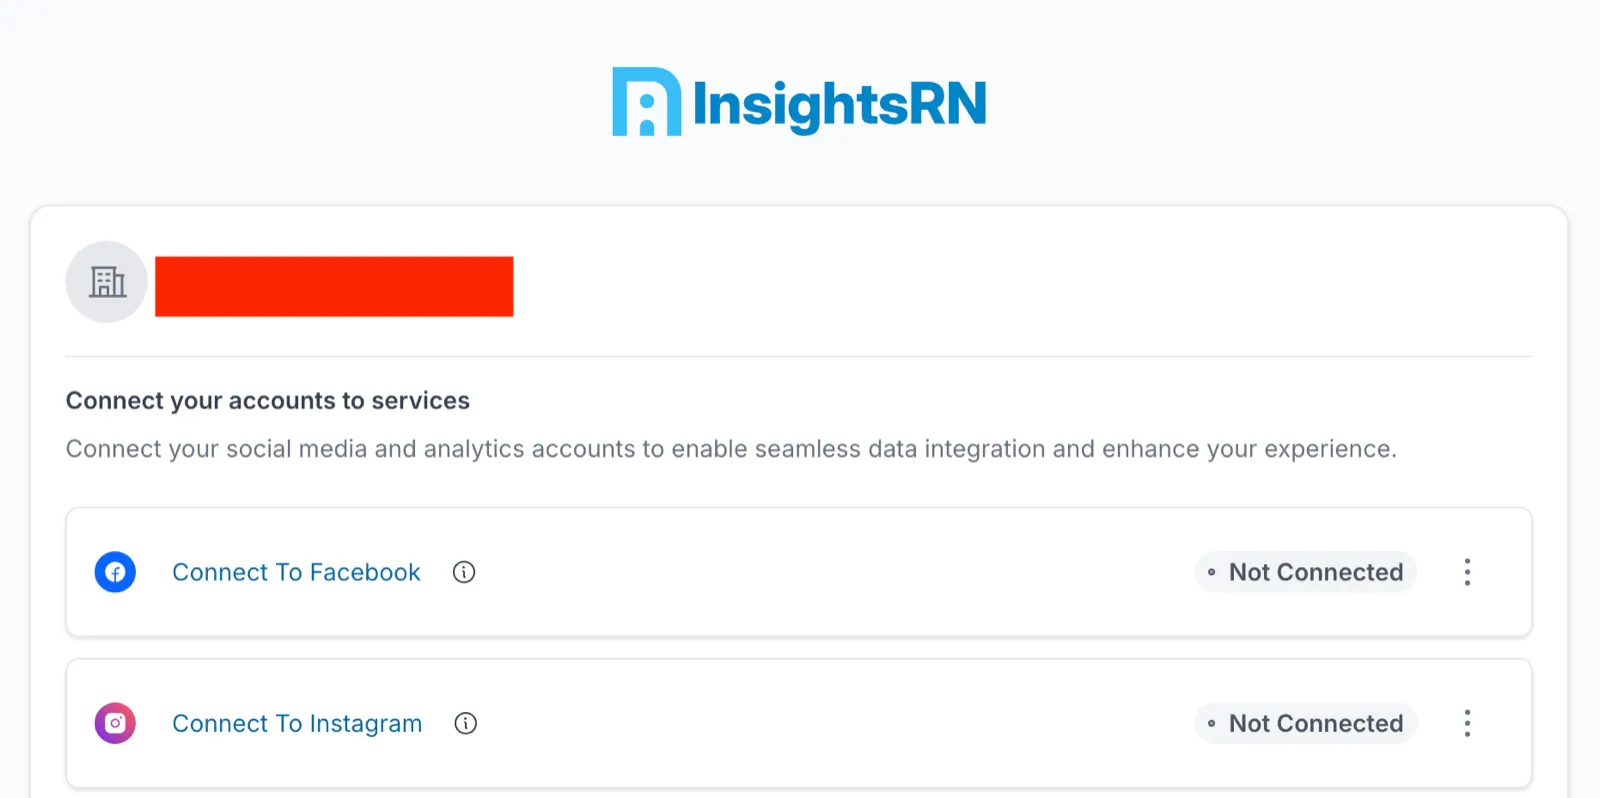
https://<your-insightsrn-domain>/publisher/connect/<32-character id>1. Open the link and click Connect to Facebook — or use the three-dot menu at the right and choose Connect.
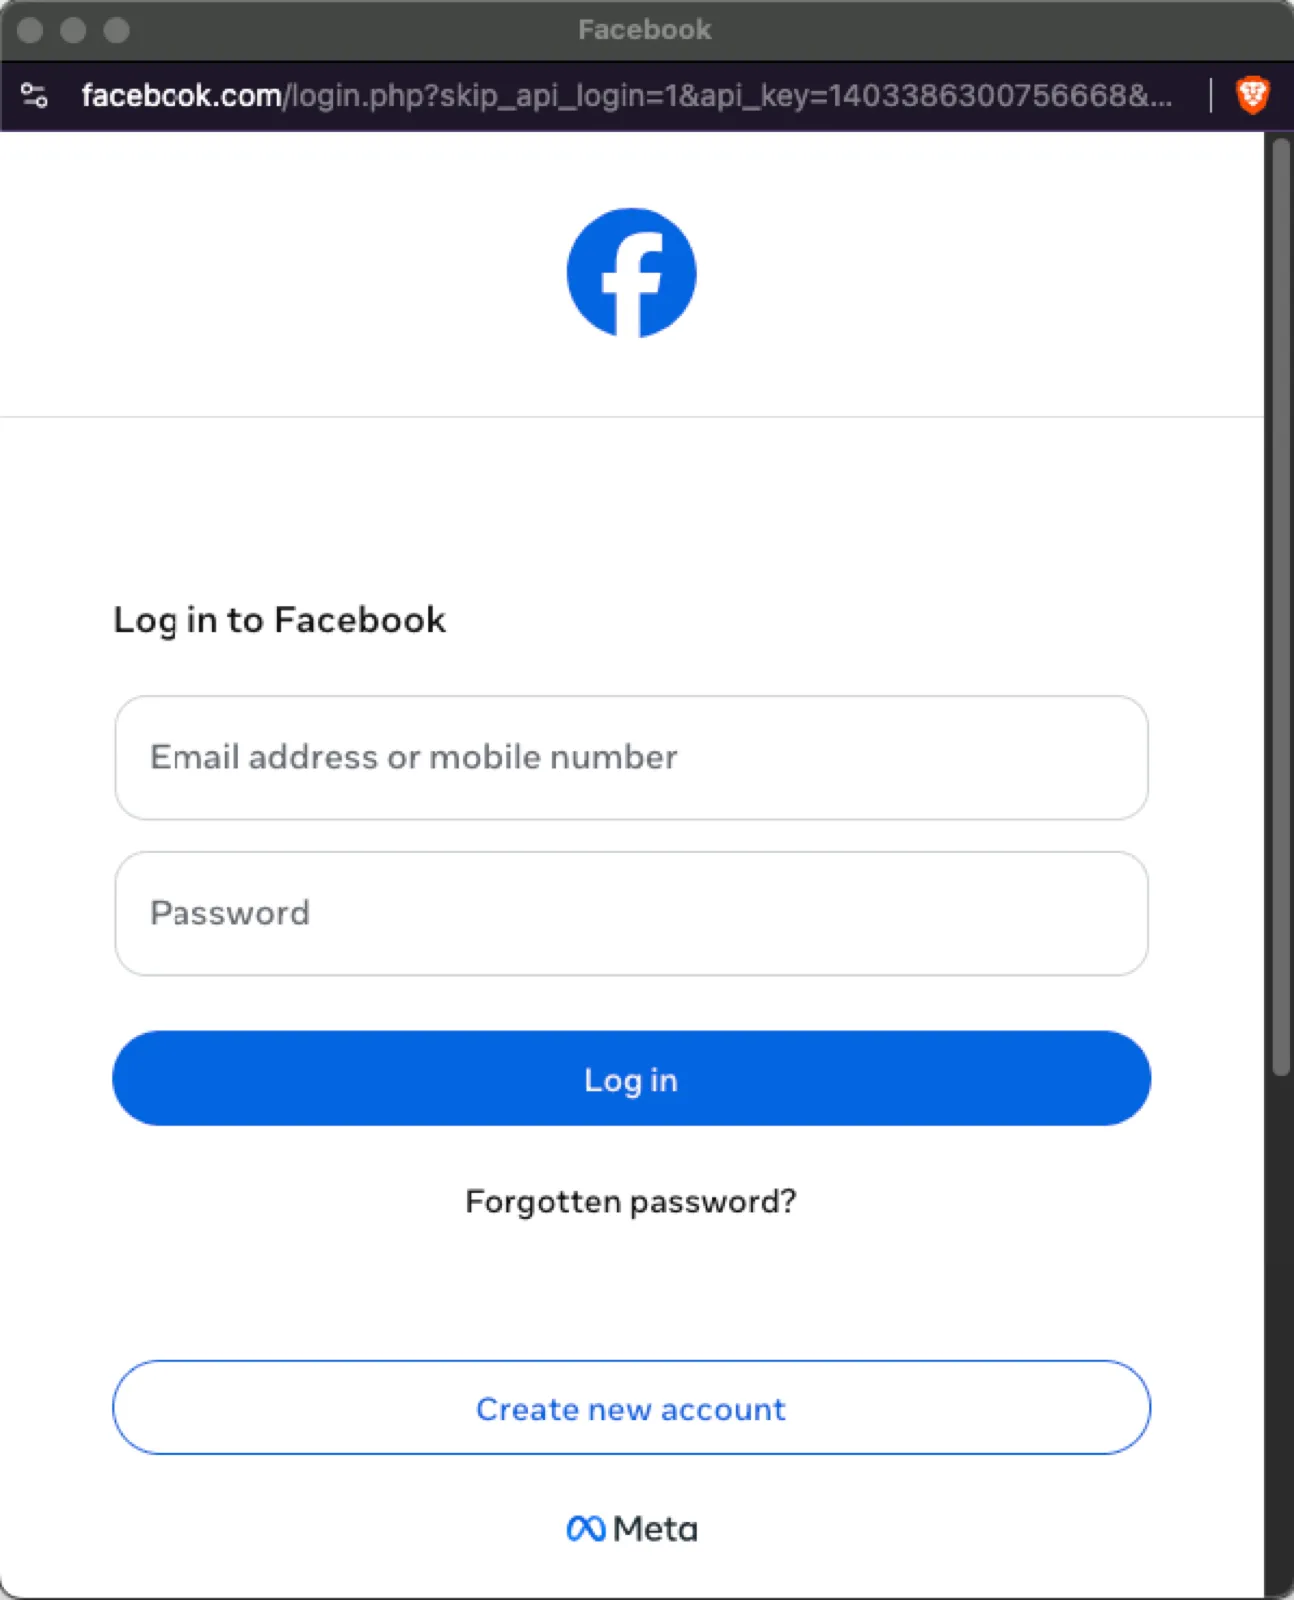
2. Log in to the Facebook account linked to their Instagram account.
3. Approve the permissions in the popup dialog.
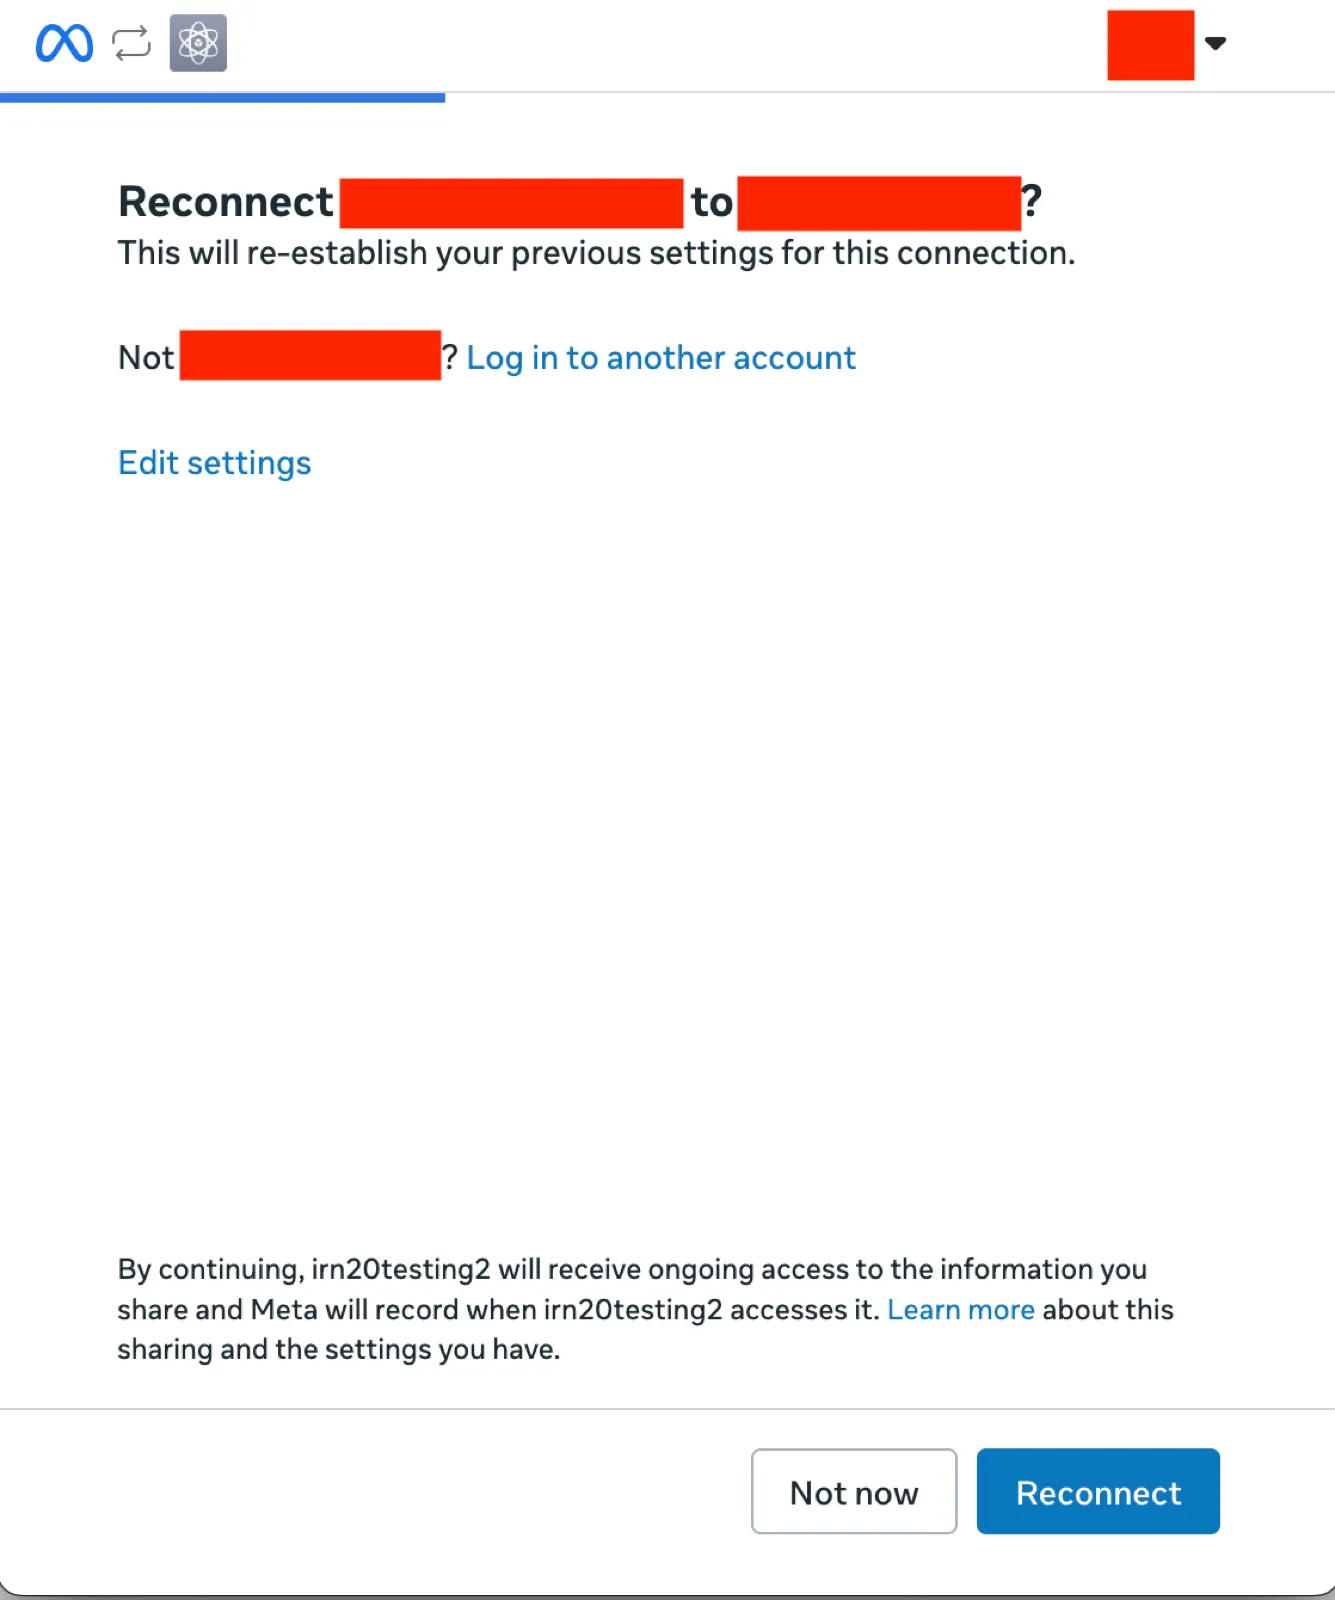
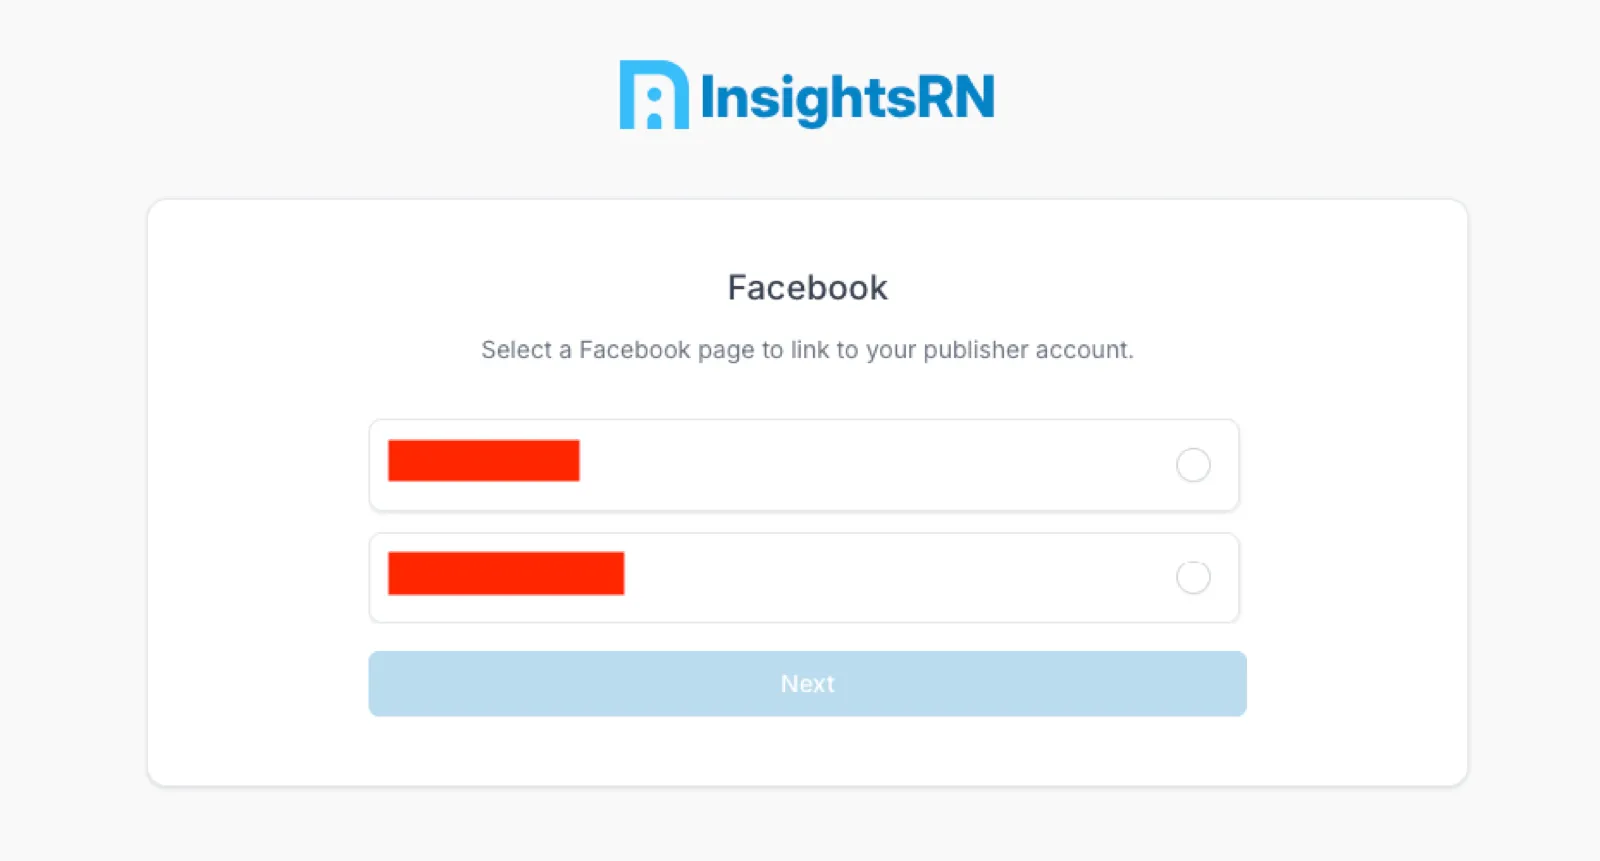
4. Select the Facebook Page associated with the Instagram account they want to link.
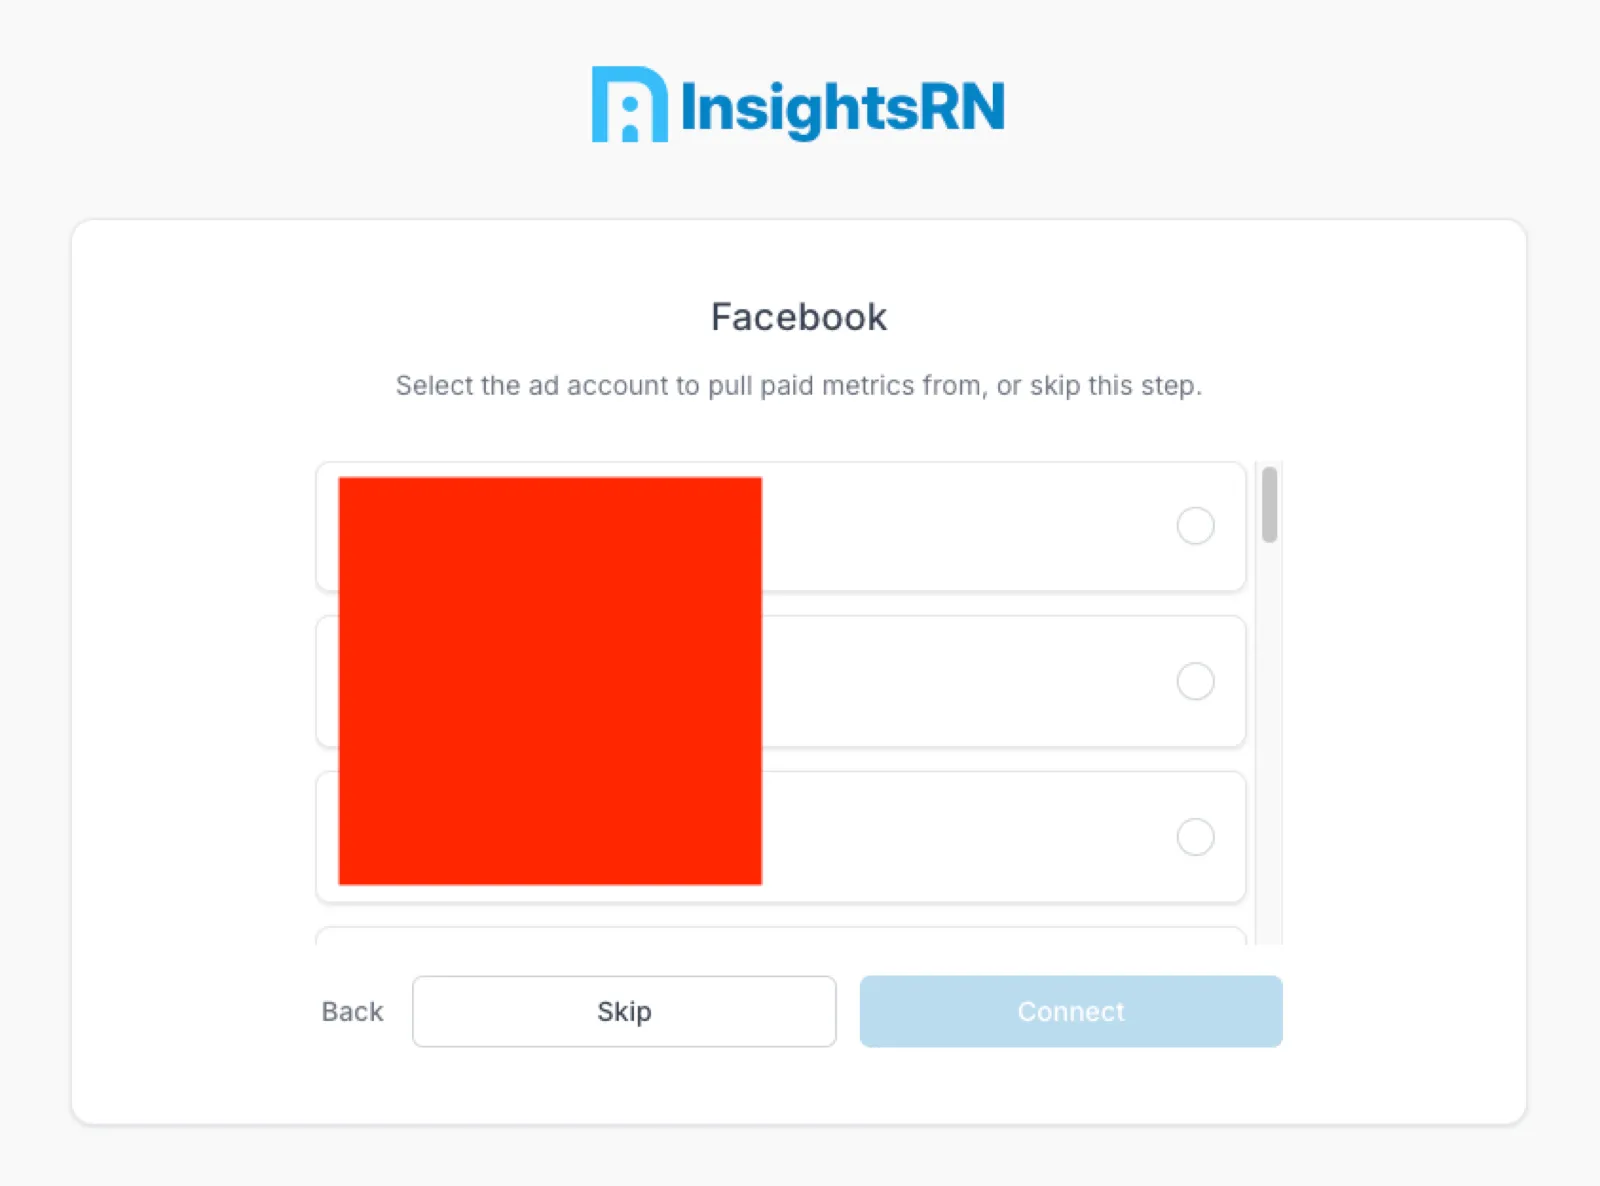
5. Optional: choose an ad account. If the Page does not use Business Manager features, this can be skipped safely.
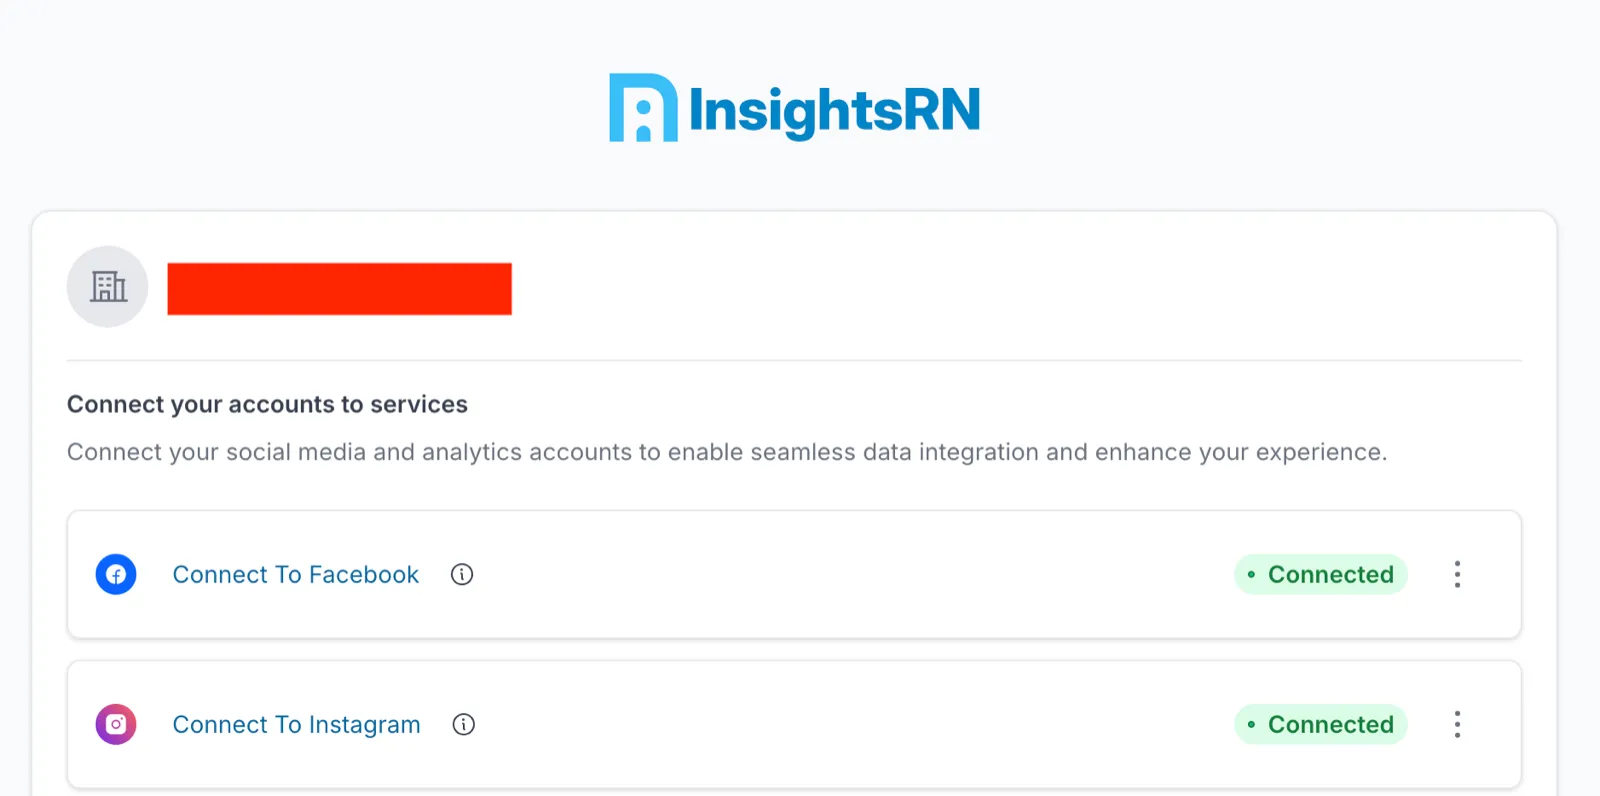
6. They return to the link page, where Facebook now shows Connected.
Verifying it worked
Section titled “Verifying it worked”The collaboration page should show Connected for the platform. If deliverables still return no data afterwards, work through Understanding your data.
Annex A — Set up an Instagram Professional account
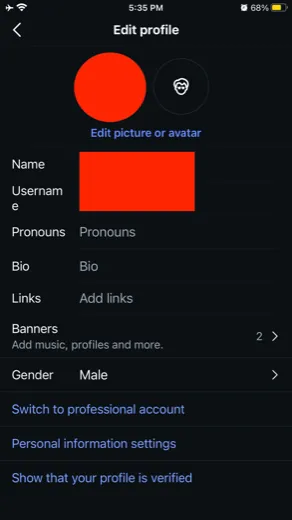
Section titled “Annex A — Set up an Instagram Professional account”1. In Instagram, go to Edit Profile and select Switch to professional account.
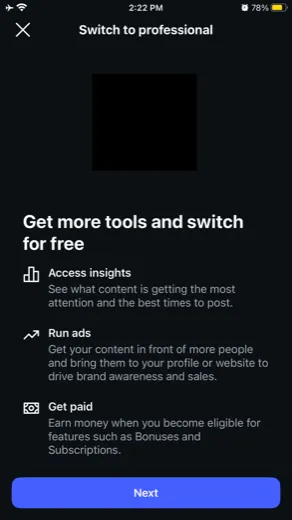
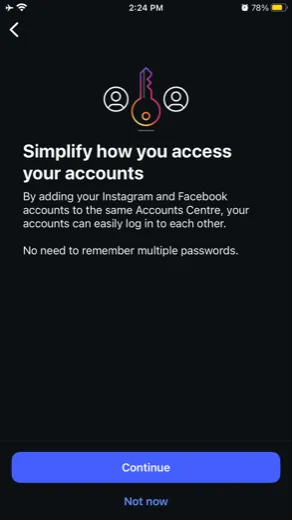
2. Work through the Switch to professional steps, choosing Creator or Business:
- Creator suits individual influencers.
- Business suits companies.
3. Done. A Professional Dashboard button appears on the profile. You can also confirm under Settings → Account → Account Type.
Annex B — Connect a Facebook Page to the Instagram account
Section titled “Annex B — Connect a Facebook Page to the Instagram account”1. In Instagram, go to Edit Profile.
2. Under Public Business Information or Profile Information, select Page.
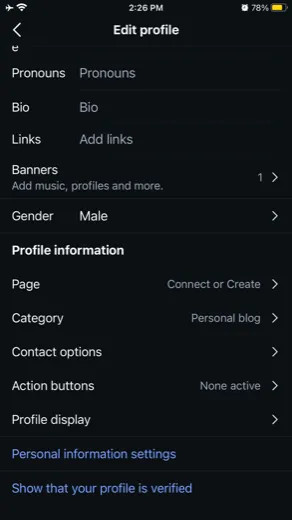
3. Choose an existing Page, or select Create a New Facebook Page.
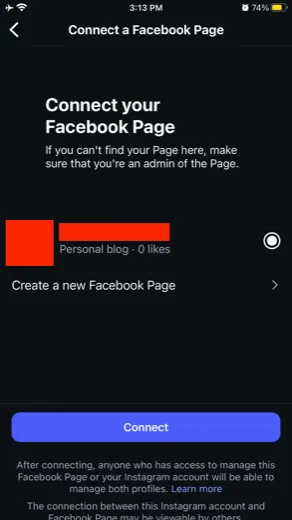
4. Done — the account is now connected to a Facebook Page.
Related
Section titled “Related”- Connecting TikTok — TikTok and TikTok Business
- Publishers — the publisher record itself
- Social integrations — every platform at a glance